如何美化个人博客
个人博客搭建 - 美化篇
前言
Hexo 给我们提供了许多主题包,例如 ButterFly,Next 主题,
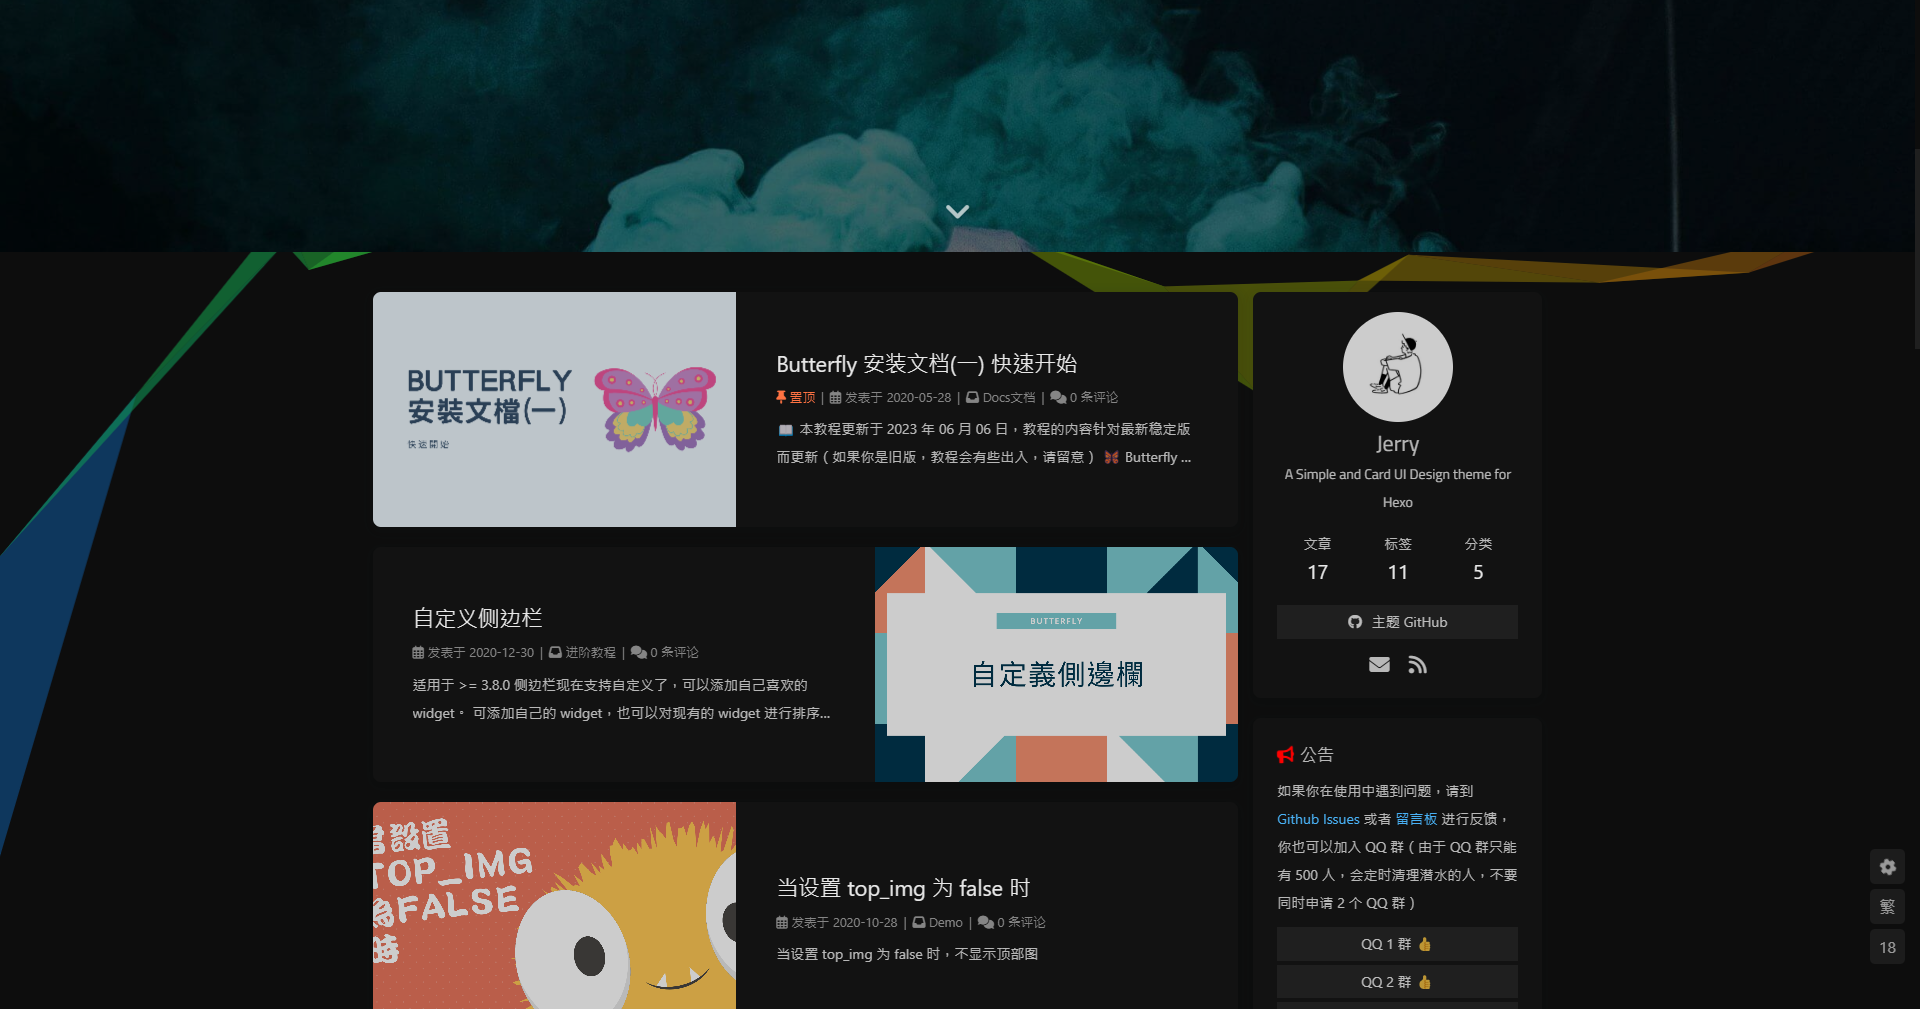
- Butterfly 主题: https://butterfly.js.org/
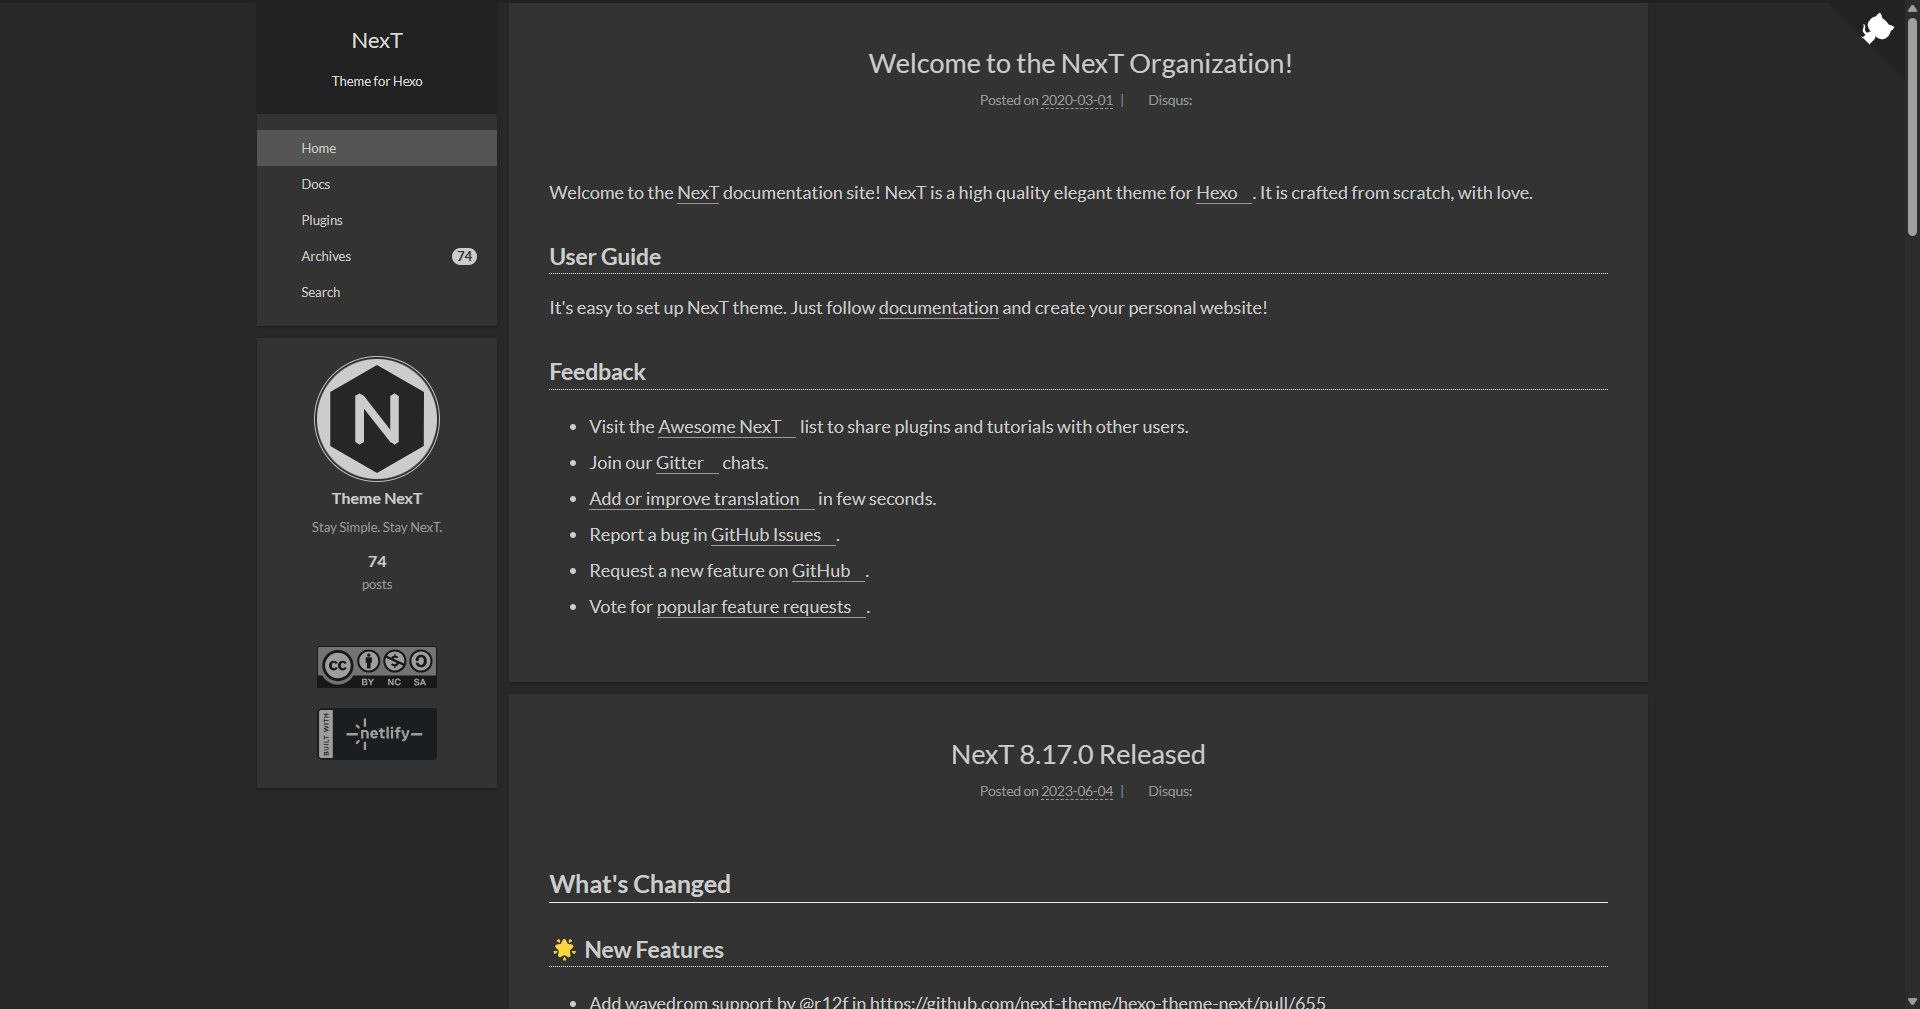
- Next 主题: https://theme-next.js.org/
大家可以进入 Hexo 的主题网站实际体验一下各种风格,挑选自己最喜欢的主题。
指路:https://hexo.io/themes/index.html
以下以 Butterfly 主题为例子来美化自己的网站,首先 Butterfly 提供简体中文的文档说明,对于英语差生的我来说实在是太有优势了,第二就是 Butterfly 更新频繁。
有什么不懂的地方大家也可以直接去看官方文档解答:https://butterfly.js.org/
安装 Butterfly 主题
在创建的文件的根目录的 themes 下进入 Bash 命令行界面,输入下面代码:
git clone -b master https://github.com/jerryc127/hexo-theme-butterfly.git themes/butterfly
如果一直失败,或者速度特变慢的可以使用下面这个:(版本要在5.0之后)
npm i hexo-theme-butterfly
安装插件 pug 和渲染器 stylus:
npm install hexo-renderer-pug hexo-renderer-stylus --save
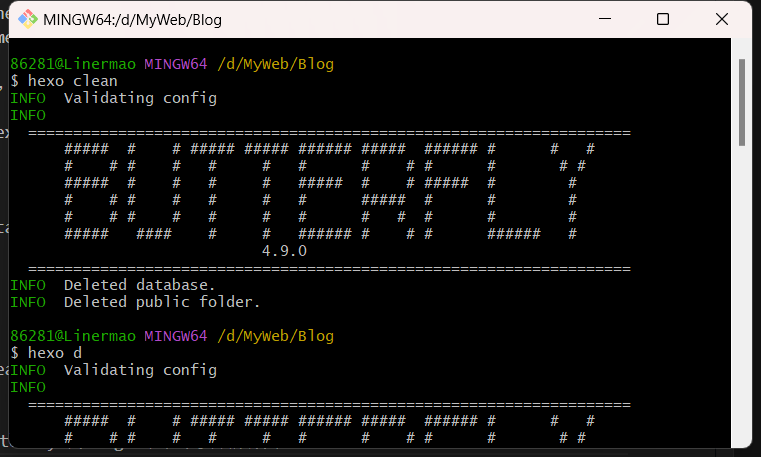
执行
hexo clean
hexo d
能够出现 butterfly 的 logo 就表示安装成功了。
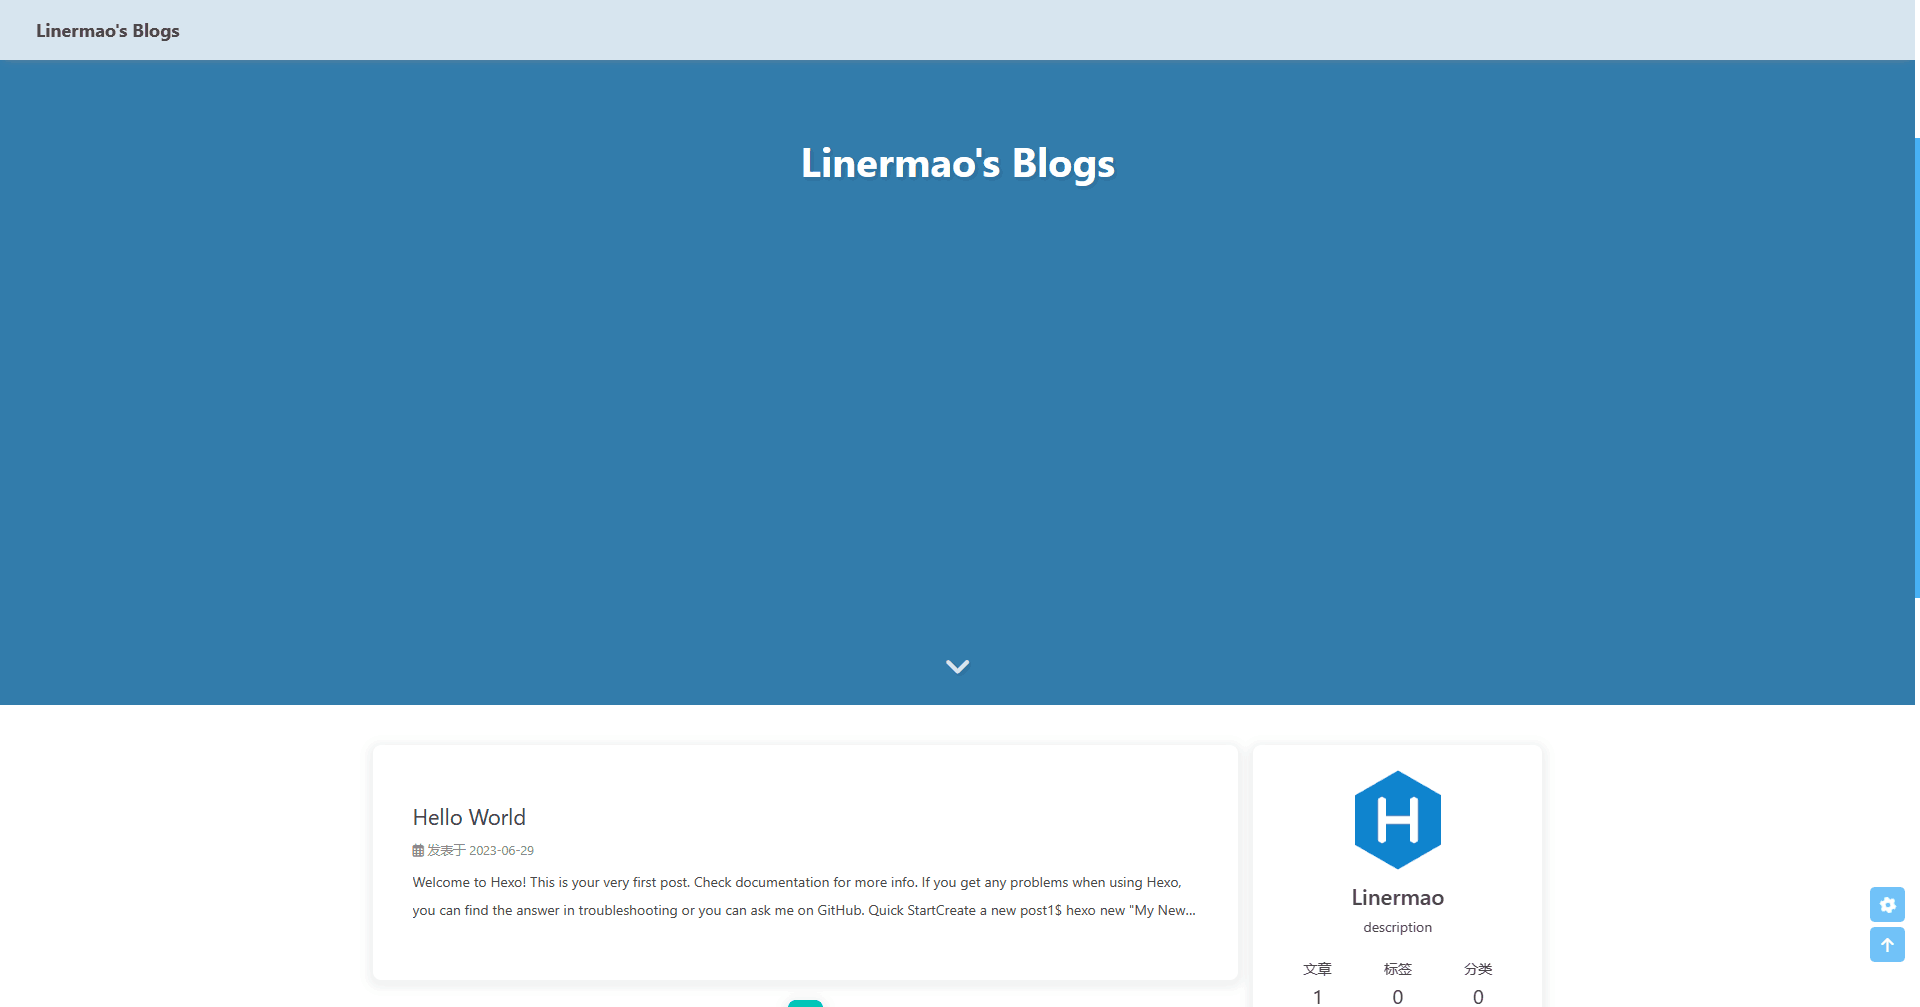
雏形大概是这样:
站点的简单个性化配置
注意! 如果在安装 Butterfly 主题时使用的是第二种方法,则 Butterfly 主题包文件夹在 node_modules/hexo-theme-butterfly 这个文件夹中。
我们在根目录下新建一个 _config.butterfly.yml, 将主题目录 butterfly 中的 _config.yml 的内容全部复制到新建的 yml 文件中去。
这样以后只需要在 _config.butterfly.yml 进行配置就行。
接下来简称 _config.yml 为 站点配置文件 _config.butterfly.yml 为 主题配置文件
Hexo会自动合并主题中的 _config.yml 和 _config.butterfly.yml 里的配置,如果存在同名配置,会使用 _config.butterfly.yml 的配置,其优先度较高。
接下来我们打开站点配置文件,找到 Site 位置,可以修改的参数为:
# Site
    titile:      网站名称
    subtitle      网站副名称,就是在网站名称后面跟着的内容
    description   网站描述
    author        你的名字
    language      zh-CN 简体中文, zh-TW 繁体中文
    timezone      时区
头像:
打开主题配置文件,找到 avatar ,修改图片路径即可。图片路径可以放在根目录的 scours 中,新建一个 image 文件夹,也可以使用网上的图片,这方面不再介绍了。
avatar:
    img: /img/avatar.png
    effect: true # 头像会一直转圈
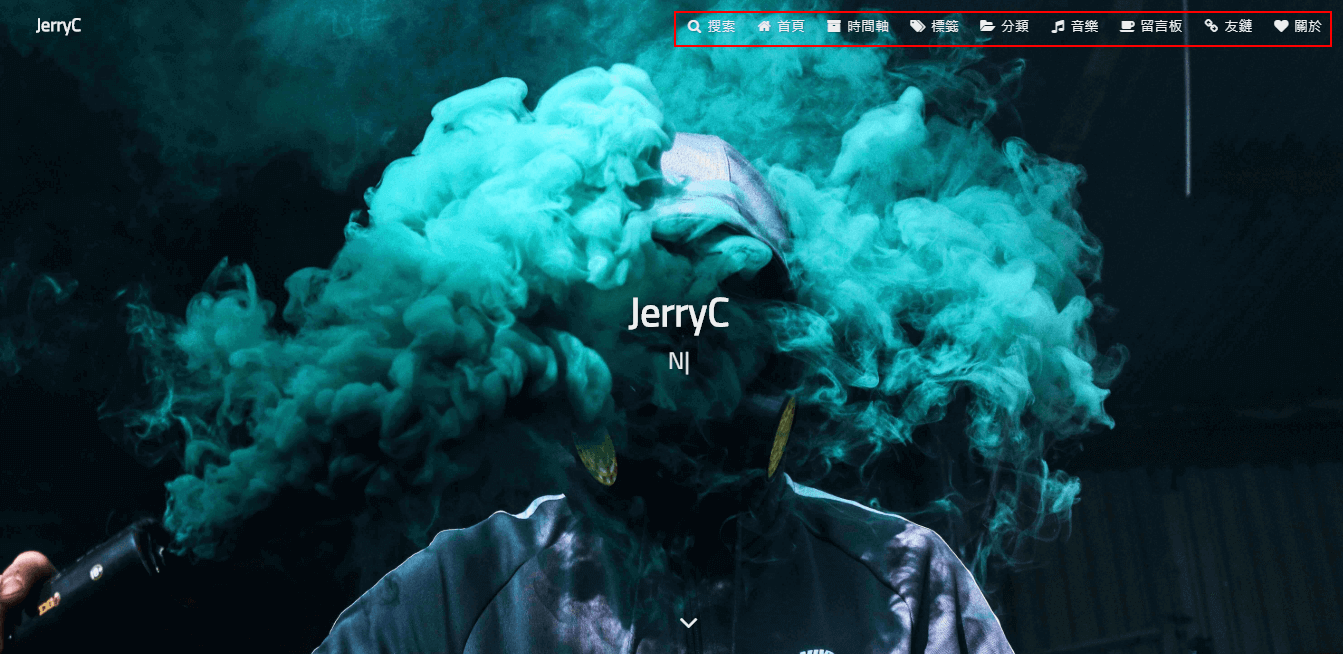
导航菜单设置:
打开主题配置文件,找到 menu 根据自己的需求修改,需要使用哪个就把哪个前面的 # 删掉就行了。
menu:
    # Home: / || fas fa-home
    # Archives: /archives/ || fas fa-archive
    # Tags: /tags/ || fas fa-tags
    # Categories: /categories/ || fas fa-folder-open
    # List||fas fa-list:
    #   Music: /music/ || fas fa-music
    #   Movie: /movies/ || fas fa-video
    # Link: /link/ || fas fa-link
    # About: /about/ || fas fa-heart
# Code Blocks
    highlight_theme: light #  darker / pale night / light / ocean / mac / mac light / false
    highlight_copy: true # copy button
    highlight_lang: true # show the code language
    highlight_shrink: false # true: shrink the code blocks / false: expand the code     blocks |       none: expand code blocks and hide the button
    highlight_height_limit: false # unit: px
    code_word_wrap: false
这里可以修改自己文章的代码块的参数,
highlight_height_limit:可配置代码高度限制,超出的部分会隐藏,并显示展开按钮。
code_word_wrap: false/true 如果你不希望在代码块的区域里有横向滚动条的话,那么你可以考虑开启这个功能。还需要将站点配置文件中的 highlight 和 prismjs 中的 line_number 改成 false 。
稍微翻译一下英语就很好理解了,具体的效果可以看官方文档。
自定义侧边栏
打开主题配置文件,找到 aside 根据自己的需求修改:
aside:
enable: true
hide: false
button: true
mobile: true # display on mobile
position: right # left or right
display:
  archive: true
  tag: true
  category: true
card_author:
  enable: true
  description:
  button:
    enable: true
    icon: fab fa-github
    text: Follow Me
    link: https://github.com/xxxxxx
card_announcement:
  enable: true
  content: This is my Blog
card_recent_post:
  enable: true
  limit: 5 # if set 0 will show all
  sort: date # date or updated
  sort_order: # Don't modify the setting unless you know how it works
card_categories:
  enable: true
  limit: 8 # if set 0 will show all
  expand: none # none/true/false
  sort_order: # Don't modify the setting unless you know how it works
card_tags:
  enable: true
  limit: 40 # if set 0 will show all
  color: false
  orderby: random # Order of tags, random/name/length
  order: 1 # Sort of order. 1, asc for ascending; -1, desc for descending
  sort_order: # Don't modify the setting unless you know how it works
card_archives:
  enable: true
  type: monthly # yearly or monthly
  format: MMMM YYYY # eg: YYYY年MM月
  order: -1 # Sort of order. 1, asc for ascending; -1, desc for descending
  limit: 8 # if set 0 will show all
  sort_order: # Don't modify the setting unless you know how it works
card_webinfo:
  enable: true
  post_count: true
  last_push_date: true
  sort_order: # Don't modify the setting unless you know how it works
个人比较喜欢把侧边栏放在左边。修改 position 属性为 left 就可以了。
设置网站背景图片
打开主题配置文件,找到 background 把自己的图片路径修改进去就可以了:
# Website Background (設置網站背景)
# can set it to color or image (可設置圖片 或者 顔色)
# The formal of image: url(http://xxxxxx.com/xxx.jpg)
background:
网站副标题
可设置主页中显示的网站副标题或者喜欢的座右铭。
打开主题配置文件,找到 subtitle 根据自己的需求修改:
# 主页subtitle
    subtitle:
      enable: false
      # Typewriter Effect (打字效果)
      effect: true
      startDelay: 300 # time before typing starts in milliseconds
      typeSpeed: 150 # type speed in milliseconds
      backSpeed: 50 # backspacing speed in milliseconds
      # loop (循环打字)
      loop: true
      # source 调用第三方服务
      # source: false 关闭调用
      # source: 1  调用一言网的一句话(简体) https://hitokoto.cn/
      # source: 2  调用一句网(简体) http://yijuzhan.com/
      # source: 3  调用今日诗词(简体) https://www.jinrishici.com/
      # subtitle 会先显示 source , 再显示 sub 的内容
      source: false
      # 如果关闭打字效果,subtitle 只会显示 sub 的第一行文字
      sub:
        - 今日事,今日毕
        - Never put off till tomorrow what you can do today
其他
就不细讲了,直接列出表格:
beautify          # 美化页面
preloader         # 避免加载图片导致断层,先加载载入动画
pangu             # 自动在半角,全椒,数字符号之间加上空格
highlight_height_limit: 230   # 代码框高度设置